Are your toes screaming in pain after a hike? Lacing your hiking boots can help prevent this, but knowing which one will work best for you can be challenging with all the different lacing techniques.
During hiking, preventing toe pain is very important; if you don’t lace your shoes correctly, it can lead to painful rubbing and blisters. Unlace your first two hooks, and start lacing the straight bar lacing method.
The good news is that there are a few easy methods of lacing hiking boots that you can use to keep your feet comfortable while out on the trail.
Sounds good. If so, I will talk to you through the basics of how to lace hiking boots to prevent toe pain and give some best ways to comfort so that your toes don’t take the brunt of every step.
1. Lacing Techniques To Avoid Toe Pain On Hiking Boots
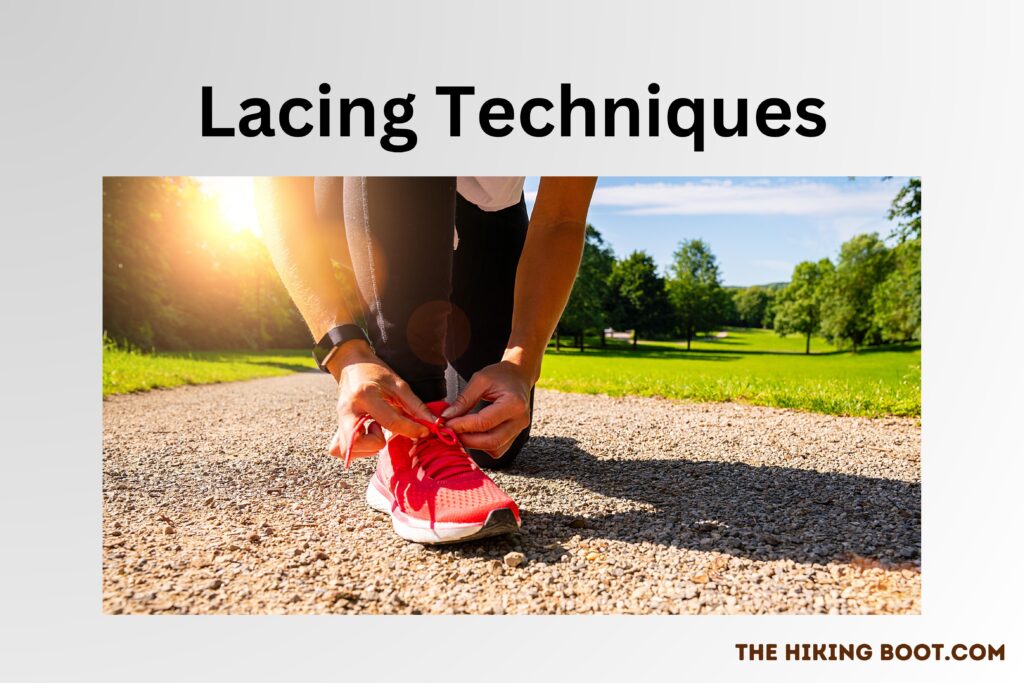
When it comes to lacing techniques, several methods can help you avoid pain while on the trail.
The most popular solutions include simple crisscross lacing, ladder lacing, and cross-lacing.
Each technique helps evenly distribute pressure across your foot and ankle, offering relief from any hot spots.
Here is a rising question what is the best lacing method for hiking boots?
Straight Bar Lacing:
Straight bar lacing is the best way to avoid the pain; use this method instead of another loop lacing, Surgeon knot lacing, or heel lock lacing.
Loop Lacing:
Loop lacing is another popular way to lace your hiking boots. But I recommend straight bar lacing for the relief of your toe pain.
Surgeon Lacing:
Surgeon lacing is an effective way to tie your boots but it usually requires more time. This method can be challenging to get right, and it can be uncomfortable if not done correctly.
So I recommend avoiding this technique when lacing your hiking boots with the first two techniques and going on a long hike.
Heel Lock Lacing:
Heel lock lacing is an effective technique for keeping your heel in place and providing support at the ankle. However, this method can be comfortable if done correctly and can cause pain in the toes.
Window Lacing:
Window lacing is another lacing technique that can be used to avoid toe pain. This method involves creating a “window” in the lacing by crisscrossing two laces over each other. This “window” helps to distribute pressure evenly across your foot.
The best lacing method for hiking boots depends on the type of hike you’re taking and the shape of your foot.
2. Understanding The Anatomy Of A Hiking Boot And The Purpose Of Laces
Hiking boots are designed to protect and support the foot in challenging terrain. They have more padding, thicker soles, and extra lacing than a regular shoe, all serving specific purposes.
Understanding the different components of the boot enables you to lace it correctly and ensure your feet are supported correctly throughout the hike.
3. Identifying The Parts Of A Lace
The laces of a hiking boot are made up of several parts, which can easily identified before you begin lacing your boots.
The eyelets are the small loops at the top of the boot where the laces run through; they support the upper part of the foot.
The hooks or webbing loops are anchors for the laces; they secure the boot and provide a snug fit.
The tongue is a piece of leather that runs up the center of the boot, and it helps to protect your feet from debris and discomfort.
Lastly, the aglets are the plastic tips at the end of your laces; they stop them from fraying over time.
4. Tips On How To Properly Tie Your Laces
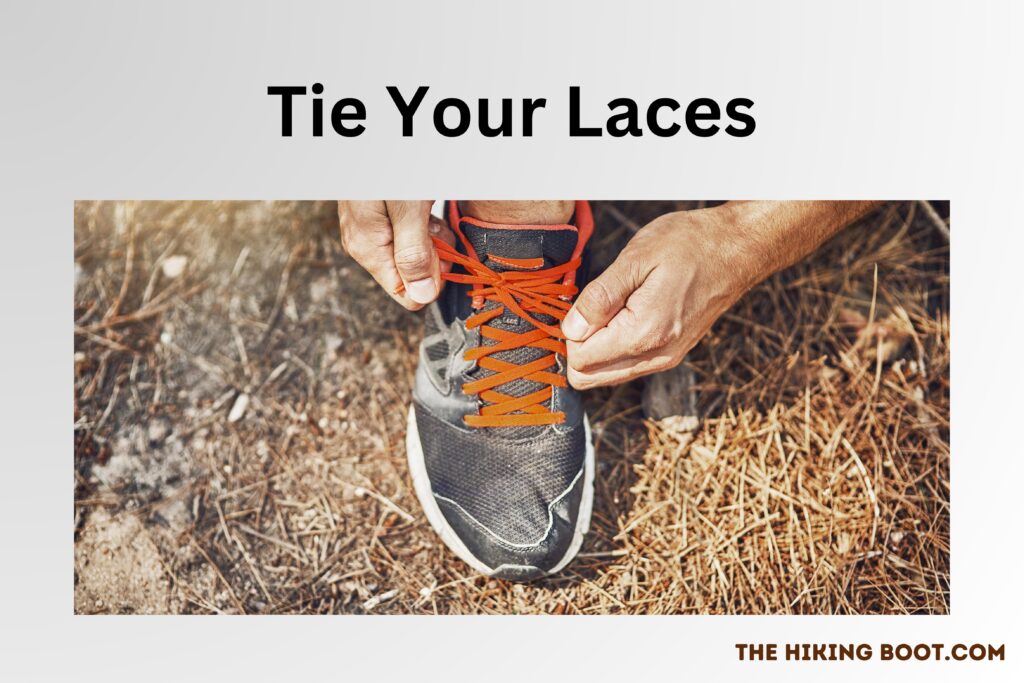
Once you have identified the various parts of your hiking boot, it’s time to lace them up correctly. To begin lacing your boots, tie a standard knot at one end of the laces.
Tying will be the starting point for your lacing pattern. Next, thread each lace through the eyelets alternately, ensuring to keep the laces tight.
When you reach the toe box, start crisscrossing the laces of every other eyelet until your knot is snug at the top of your foot.
Once you have reached this point, use the hooks or webbing loops to secure the fit by looping them around each lace and pulling them tight.
5. Step-By-Step Guide On How To Lace Your Boots For Optimum Toe Comfort
You can use a lacing method called the Overlap Lace for maximum toe comfort while hiking.
This technique reduces pressure on your toes by providing a snugger fit around the foot.
First, tie a knot at one end of the laces and thread each lace through the eyelets in an alternating pattern.
When you reach the center of your foot, crisscross the laces in an overlapping pattern, going over two eyelets each time until the knot is snug at the top.
Use the hooks or webbing loops to secure the fit, and then tie a double knot at the end for extra support.
6. Common Mistakes To Avoid When Lacing Your Hiking Boots
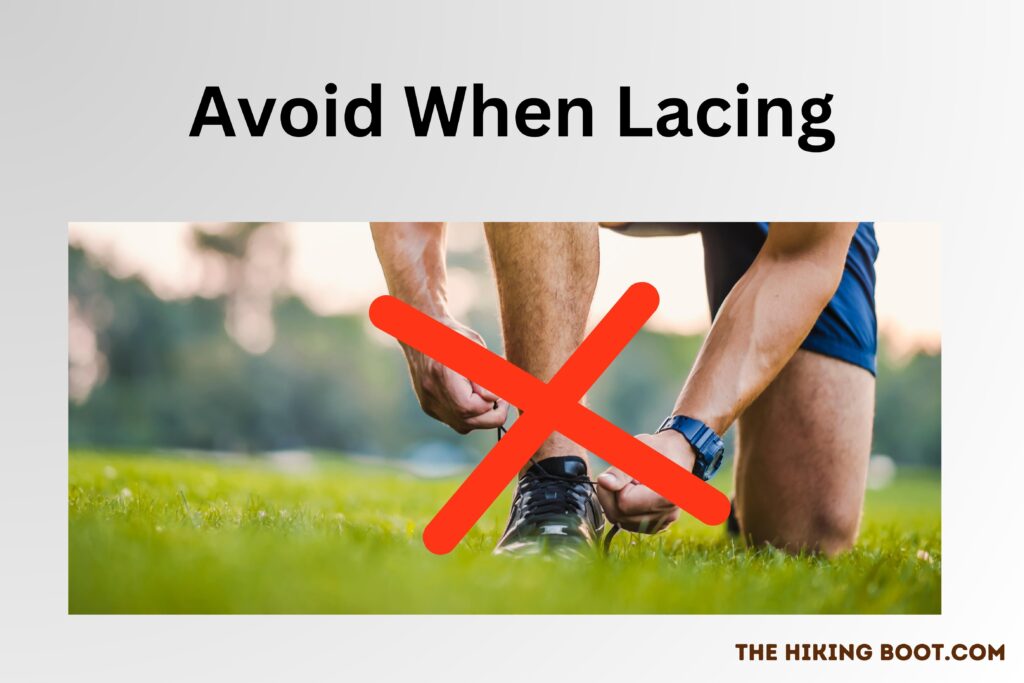
When it comes to lacing your hiking boots, there are some common mistakes that you should avoid to prevent discomfort and potential injury.
Too Tightly:
One of the most important things to remember is not to tie the laces too tightly; this can cause pain or even restrict blood flow in the foot.
Crisscross:
Be sure not to crisscross the laces too tightly; this can cause them to rub against one another and create painful blisters.
Ensure that you always use hooks or webbing loops to secure the fit of your boots; this will ensure a snug fit and reduce any movement during hikes.
7. What Say Experts About Preventing Foot And Toe Pain While Hiking
Experts agree that lacing your hiking boots with the correct technique is vital to preventing foot and toe pain while hiking. Using the coring techniques is essential to keep your feet secure and supported while also avoiding tying them too tightly.
The Overlap Lace technique is a great way to reduce pressure on the toes and provide a snug fit with minimal rubbing or blisters. Use hooks or webbing loops to secure your laces for extra support.
Our experts final opinion about how to lace hiking boots to prevent toe pain with the use a straight bar lacing method.
Conclusion
Lacing your hiking boots perfectly is necessary to prevent pain and discomfort while on the trail. By using the Overlap Lace technique and securing your laces with hooks or webbing loops, you can ensure that your feet are supported correctly throughout the hike. Also, avoid tying your laces too tightly; this will only add to the discomfort. With these tips in mind, you can be sure that your feet feel comfortable and supported during your outdoor adventures.
FAQ’s
How To Lace Hiking Boots For Downhill?
When lacing your hiking boots downhill, focusing on the top of your foot and ankle is essential. This will help keep your feet secure and supported during descents. Start by tying a knot at one end of the laces, then thread each lace through the eyelets in an alternating pattern until you reach the center of your foot.
Once you reach the center of your foot, begin crisscrossing the laces in an overlapping pattern going over with one lace and under with the other. Avoid tying them too tightly; this can cause painful rubbing and blisters.
How Can I Make My Hiking Boots More Comfortable On My Toes?
The best way to make your hiking boots more comfortable on your toes is to make sure that you lace them correctly and use hooks or webbing loops to secure the fit.
Additionally, avoid tying the laces too tightly; this can cause pain and restrict blood flow in the foot. The Overlap Lace technique is a great way to reduce pressure on your feet.
Why Do My Hiking Boots Hurt My Toes?
If your hiking boots are hurting your toes, it is likely because they are not laced correctly or because the laces are tied too tightly.
The Overlap Lace technique can help reduce pressure on your toes and provide a snug fit with minimal rubbing or blisters.
How Do I Stop My Hiking Boots From Hurting My Toes?
The best way to stop your hiking boots from hurting your toes is to make sure that you lace them correctly. Using the Overlap Lace technique and securing the laces with hooks or webbing loops can help reduce pressure on the toes and provide a snug fit without rubbing or blisters.
How Do You Lace Boots for Toe Pain?
The best method for lacing boots to reduce toe pain is the Overlap Lace technique. Start by tying a knot at one end of the laces and threading each lace through the eyelets in an alternating pattern. When you reach the center of your foot, begin crisscrossing the laces in an overlapping way, going over with, and enjoy hiking without any toe pain.
